

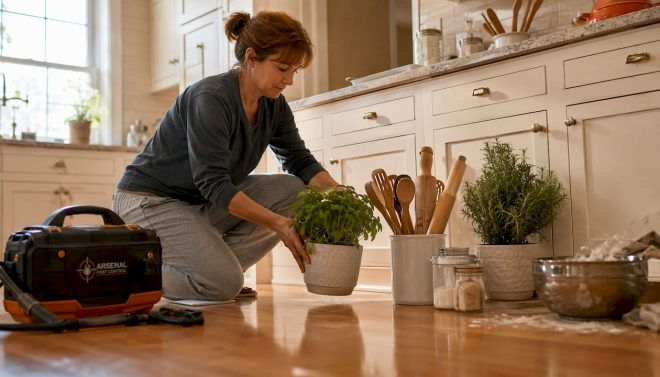
Preparing your home for a pest inspection means creating clear access and visibility so inspectors can identify pest evidence, entry points, and risks without obstruction. A professional residential pest inspection typically lasts 30–60 minutes depending on home size and complexity. That window goes fast. Inspectors use moisture meters, thermal cameras, and borescopes to find what you cannot see. The more accessible your home is, the more accurate the results. Proper preparation is not about making your home look clean. It is about making every corner reachable and every clue visible.
How to prepare your home for a pest inspection room by room
The most effective interior preparation focuses on access, not appearance. Inspectors need to reach baseboards, wall voids, and under-sink plumbing without moving obstacles themselves. Move furniture a few inches away from walls in living rooms, bedrooms, and hallways. That small gap gives inspectors the sightlines they need to spot droppings, grease trails, and gnaw marks along baseboards.
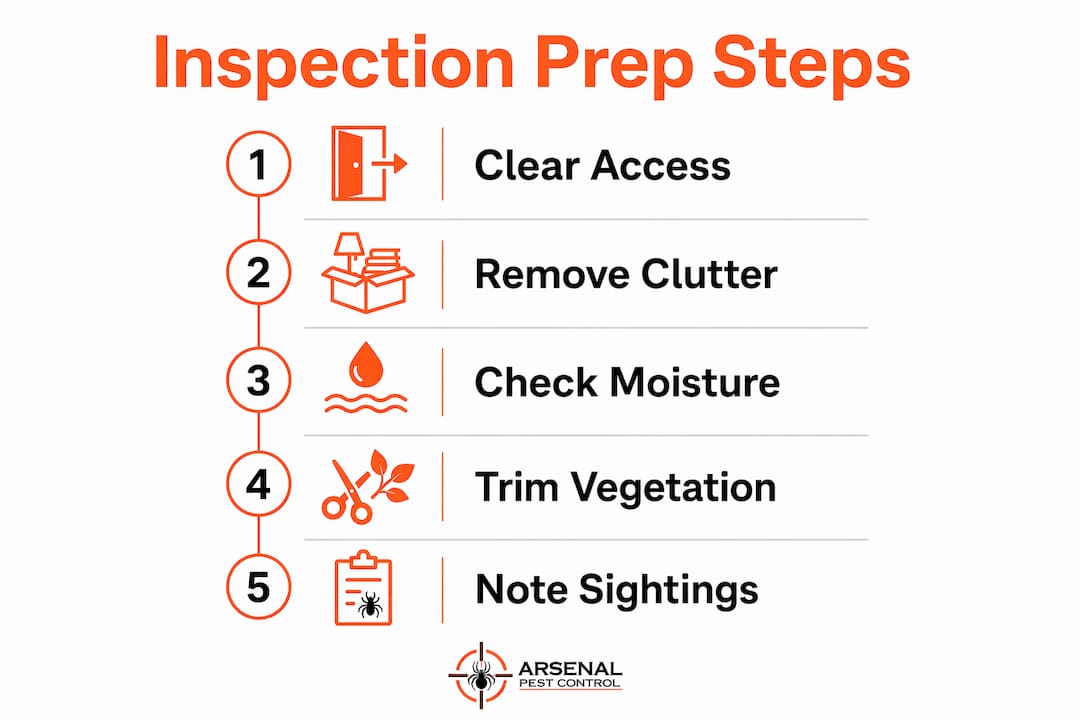
Kitchens and bathrooms demand the most attention. Clear everything stored under sinks, including cleaning products, trash bags, and spare toiletries. Moisture collects in these cabinets, and pests follow moisture. The same logic applies to utility closets, water heater enclosures, and laundry areas. If an inspector cannot open a cabinet door fully, they cannot do their job.
Attic hatches and crawl space entries are frequently blocked by stored boxes or furniture. Move anything sitting within 3 feet of these access points before the inspector arrives. Cluttered attic entries are one of the most common reasons inspectors flag incomplete assessments.
- Clear items from under kitchen and bathroom sinks completely
- Pull furniture 3–4 inches away from all walls
- Remove boxes or stored items blocking attic and crawl space entries
- Clear utility areas including water heaters, HVAC units, and laundry spaces
- Open cabinet doors and pantry shelves to allow visual access
Pro Tip: Focus first on moisture-prone areas. Pests concentrate near water sources, so under-sink cabinets, bathroom vanities, and laundry rooms are where inspectors find the most evidence. Clearing these spots first gives you the biggest return on your preparation time.
How to prepare exterior areas and entry points
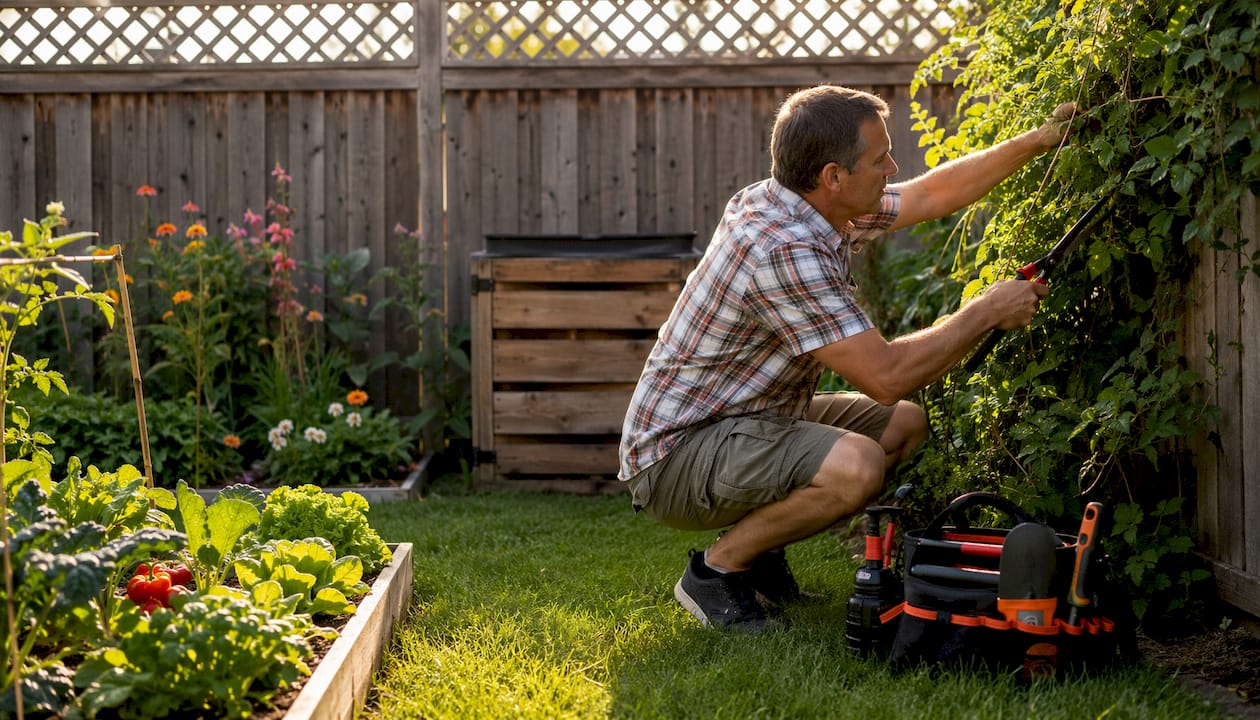
Exterior conditions like vegetation touching siding and debris near foundations are leading causes of interior pest infestations. Trimming shrubs, tree branches, and ground cover away from your home’s siding and roofline removes the physical bridges pests use to enter. Aim to keep vegetation at least 12 inches from any exterior wall surface.
Woodpiles, old lumber, and stacked debris sitting against your foundation are termite and rodent magnets. Relocate these at least 20 feet from the house before the inspection. Inspectors check foundation lines closely, and stored materials block that view entirely. A clear foundation perimeter also reveals cracks, gaps, and soil-to-wood contact that inspectors need to document.
Exterior access points require the same attention as interior ones. Unlock and open gates to side yards, backyard enclosures, and outbuildings before the inspector arrives. Vents, crawl space doors, and detached garage entries should all be unobstructed. Reviewing an exterior cleaning guide before your appointment can help you catch overlooked areas around your property’s perimeter.
- Trim all vegetation at least 12 inches from siding, eaves, and rooflines
- Move woodpiles, debris, and stored materials away from the foundation
- Unlock gates, side yard access points, and outbuilding doors
- Clear pathways to exterior vents and crawl space entries
- Remove leaf litter and mulch buildup directly against the foundation
What to do on inspection day: pets, notes, and timing
Secure pets in a closed room or carrier and tell the inspector where they are before the visit begins. This protects both the animal and the technician. A dog loose in the house can block access to rooms, create distractions, and stress out during the inspection process. Cats are especially good at slipping into areas inspectors need to examine. Crating or confining pets removes that variable entirely.
Prepare written notes on any pest activity you have observed. Record the location, time of day, and what you saw. Sharing specific pest sighting details with your inspector before they start helps them prioritize the right areas. A homeowner who says “I heard scratching in the ceiling above the master bedroom at 2:00 AM last week” gives the inspector a precise starting point.
- Secure all pets in a crate, carrier, or closed room before the inspector arrives
- Write down pest sightings with location, date, and time of day
- Note any recent home changes such as new plumbing, renovations, or water damage
- Turn on lights in dark areas like attics, basements, and utility closets
- Unlock all interior doors including closets, storage rooms, and garages
Pro Tip: Turn on every light in dark or rarely used areas before the inspector walks through. Inspectors carry flashlights, but ambient light in attics and crawl spaces speeds up the process and helps them catch details they might otherwise miss.
Common mistakes that hurt your pest inspection
The single most damaging mistake homeowners make is cleaning too thoroughly before the inspection. Excessive cleaning and DIY pesticide use destroy the diagnostic clues inspectors rely on. Droppings, grease trails, shed skins, and webbing are not just signs of pests. They are the evidence that tells inspectors what species is present, how active the infestation is, and where it originates.
Spraying store-bought pesticides in the days before an inspection is equally counterproductive. It may scatter pests temporarily, making them harder to locate. It also contaminates areas where inspectors might otherwise find live specimens or concentrated activity. Let the professional assess the situation first.
- Do not sweep, mop, or wipe areas where you have seen pest activity
- Avoid moving boxes or items between rooms if you suspect an infestation, as this spreads pests
- Do not spray any pesticide products in the 48–72 hours before the inspection
- Leave locked areas unlocked and cluttered spaces accessible
“Preserving pest evidence before an inspection is just as important as clearing access. Droppings, trails, and webbing tell inspectors the full story. Clean those away and you are starting the diagnosis blind.”
What inspectors actually do and why your prep matters
Professional pest inspectors search for active infestations, past damage, and conditions conducive to future pest problems. That three-part focus shapes everything they examine. Active pests confirm a current problem. Damage signs like chewed wood or stained drywall reveal history. Conducive conditions such as moisture, cracks, and entry gaps predict where the next infestation will start.
Inspectors use specialized tools that go far beyond a flashlight. Moisture meters detect elevated humidity inside walls before visible mold or damage appears. Thermal cameras and borescopes reveal pest activity inside wall cavities without cutting drywall. These tools only work when inspectors can physically reach the areas they need to scan. Blocked walls, inaccessible crawl spaces, and furniture pushed against baseboards all reduce tool effectiveness.
Inspectors conduct non-invasive assessments and replace any items they move during the process. Homeowners do not need to worry about damage. What they do need to worry about is access. A well-prepared home allows an inspector to move through every zone systematically, which produces a complete and accurate report.
| Inspection area | Tools used | What inspectors look for |
|---|---|---|
| Interior walls and voids | Borescope, thermal camera | Live pests, nesting, moisture damage |
| Crawl spaces and attics | Moisture meter, flashlight | Droppings, wood damage, entry points |
| Kitchen and bathrooms | Visual inspection, moisture meter | Moisture, grease trails, droppings |
| Foundation and exterior | Visual inspection | Cracks, soil-to-wood contact, entry gaps |
| Outbuildings and garage | Visual inspection, flashlight | Rodent activity, nesting, stored debris |
Key Takeaways
Proper preparation for a pest inspection means clearing access, preserving evidence, and communicating pest history so inspectors can deliver an accurate, complete assessment.
| Point | Details |
|---|---|
| Clear interior access | Move furniture from walls and empty under-sink cabinets before the inspector arrives. |
| Prepare the exterior | Trim vegetation and remove debris from the foundation to expose entry points. |
| Secure pets and share notes | Confine animals and give the inspector written details on pest sightings and locations. |
| Preserve pest evidence | Skip deep cleaning and pesticide sprays so inspectors can read diagnostic clues accurately. |
| Understand inspector tools | Thermal cameras and moisture meters require physical access to work effectively. |
What we have learned from hundreds of Arizona inspections
At Arsenal Pest Control, the preparation gap we see most often is not clutter. It is silence. Homeowners who say nothing about what they have observed leave inspectors working with half the picture. A homeowner who mentions “I saw a scorpion near the water heater last month” sends the inspector directly to the right zone. That one sentence can cut 20 minutes off the inspection and add significant depth to the findings.
The other pattern we see regularly is over-cleaning. Homeowners want to make a good impression, so they scrub baseboards and wipe cabinets the morning of the inspection. That effort removes the exact evidence that makes an inspection useful. We always tell homeowners: tidy the path, not the problem areas. Clear the route to every room, but leave pest-active zones exactly as you found them.
Proactive preparation is also a form of home maintenance. Homeowners who walk their property before an inspection often discover issues they had not noticed, including damaged vents, foundation cracks, and overgrown vegetation touching the roofline. That pre-inspection walk is worth doing every six months regardless of whether a professional is coming. It trains you to see your home the way a pest inspector does.
For homeowners in Queen Creek, San Tan Valley, and surrounding Arizona communities, preparation also means accounting for local pest pressure. Scorpions, termites, and roof rats are active year-round in the desert Southwest. Knowing that shapes which areas deserve the most attention before any inspection visit.
— Arsenal Pest Control
Arsenal Pest Control is ready when you are
Arsenal Pest Control serves homeowners across Queen Creek, Gilbert, Chandler, Mesa, Apache Junction, Florence, and San Tan Valley with thorough residential pest inspections and environmentally responsible treatments.

Whether you need a full pest inspection or a specialized termite assessment, Arsenal Pest Control’s team walks you through every step before and after the visit. No long-term contracts. No guesswork on what comes next. Our inspectors explain exactly what they found, what it means, and what your options are. Schedule your inspection today and get a clear picture of what is happening in your home.
FAQ
How long does a pest inspection take?
A professional pest inspection typically lasts 30–60 minutes depending on the size of the home and the complexity of any pest issues found.
Should I clean before a pest inspection?
Light tidying to clear access paths is fine, but avoid deep cleaning or wiping areas where you have seen pest activity. Droppings, trails, and webbing are the diagnostic evidence inspectors need to identify species and infestation severity.
What should I tell the inspector before they start?
Share any pest sightings with specific location, time of day, and frequency. Detailed pest sighting information helps inspectors target the right areas and produce a more accurate report.
Do I need to be home during the inspection?
Being present is strongly recommended. You can answer questions in real time, point out areas of concern, and receive a verbal summary of findings immediately after the inspection is complete.
Can I spray pesticides before the inspection?
No. Spraying pesticides in the 48–72 hours before an inspection scatters pests and removes evidence. Let the inspector assess the situation first so treatment can be targeted accurately.
Recommended
- Safe Pest Control for Kids and Pets: A Family Guide – Arsenal Pest Control
- Pest-Proofing a Commercial Kitchen: 2026 Guide – Arsenal Pest Control
- Pet Safe Pest Treatments for Your Home: 2026 Guide – Arsenal Pest Control
- Homeowners Association Pest Control in Queen Creek, Arizona
